How to create a Ubigi account after scanning an eSIM QR code on Android?
After scanning your QR code, follow the following steps to create your
Ubig account in the Ubigi App.


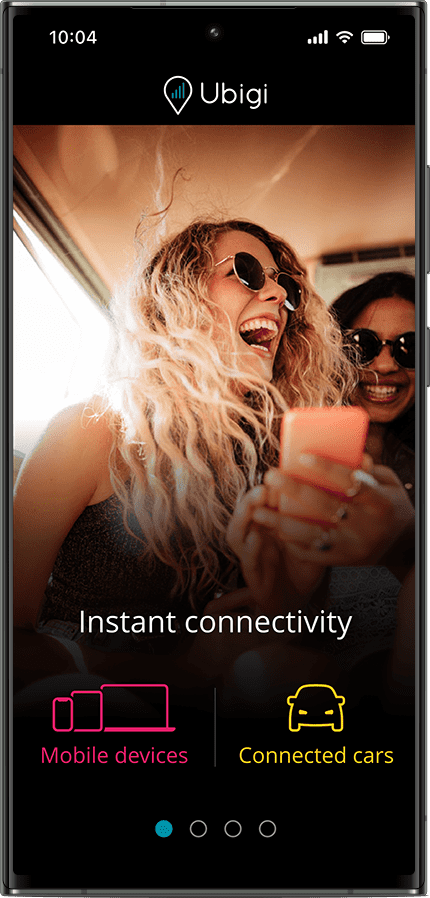
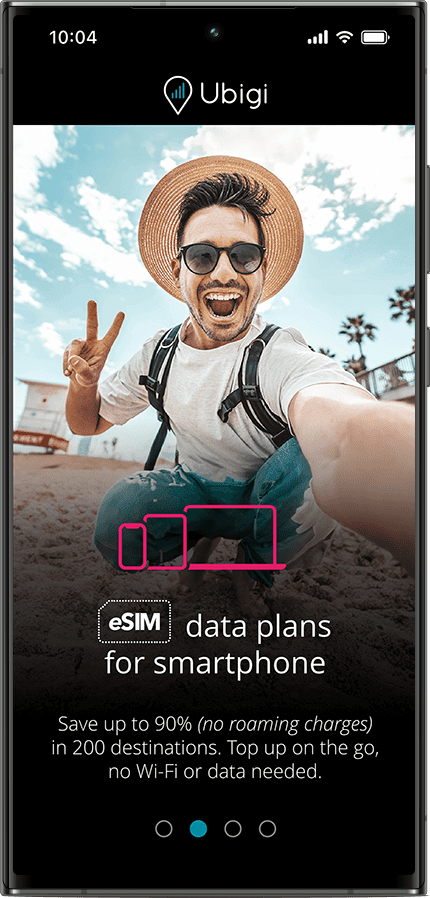
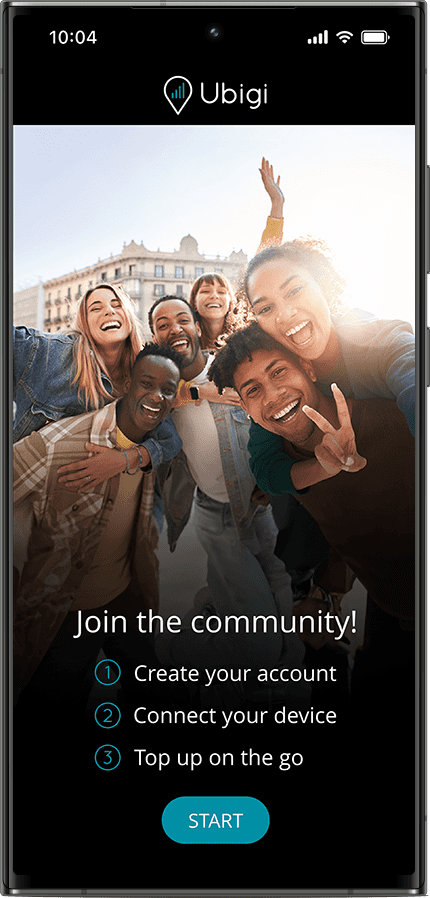

Enjoy the UBIGI introduction until you see the “START” button and tap on it.
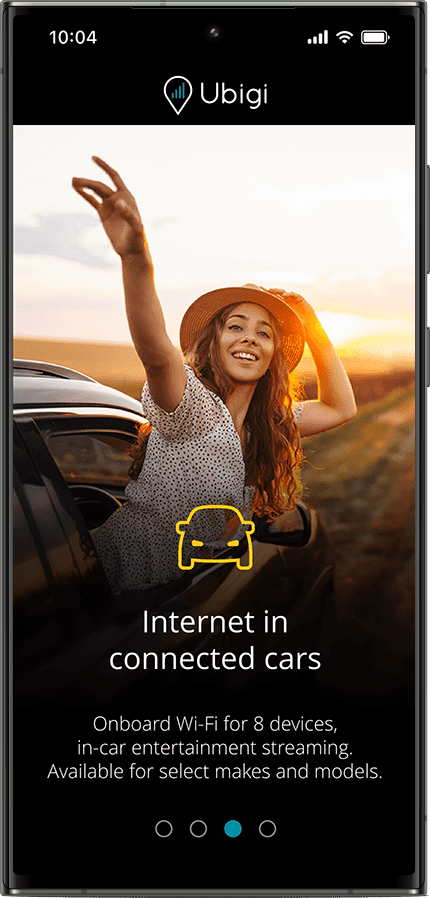
Did you know ? Ubigi offers connectivity for both mobile devices and a selection of connected car makes and models.


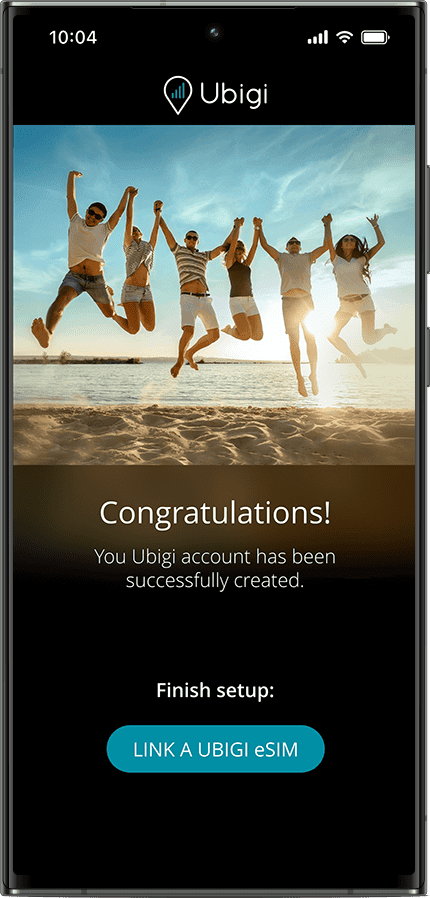
Create a Ubigi account
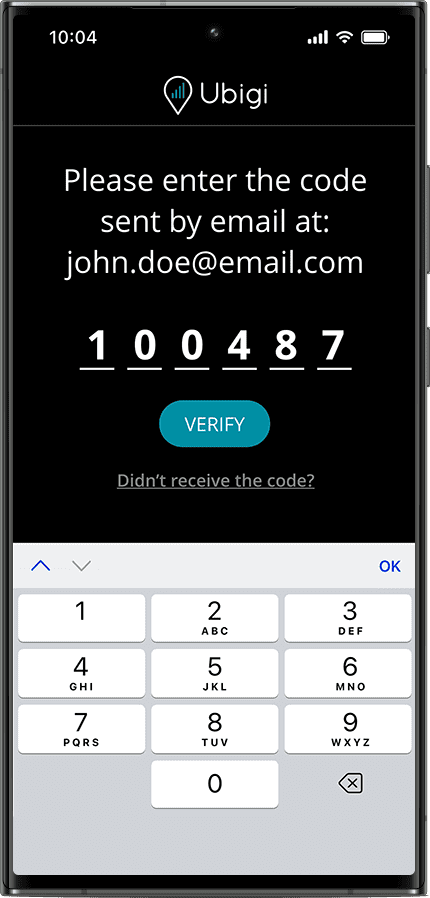
Complete your account creation process by verifying your email address. Ensure that you have an internet connection to receive the verification code by email.
Click here if you don’t receive it.