Discover how to install your Ubigi eSIM on your iPad in few steps!
Start by checking if your device is eSIM compatible

Dial *#06#, if an EID code shows, your device supports eSIM
Start by checking if your device is eSIM compatible
Dial *#06#, if an EID code shows, your device supports eSIM
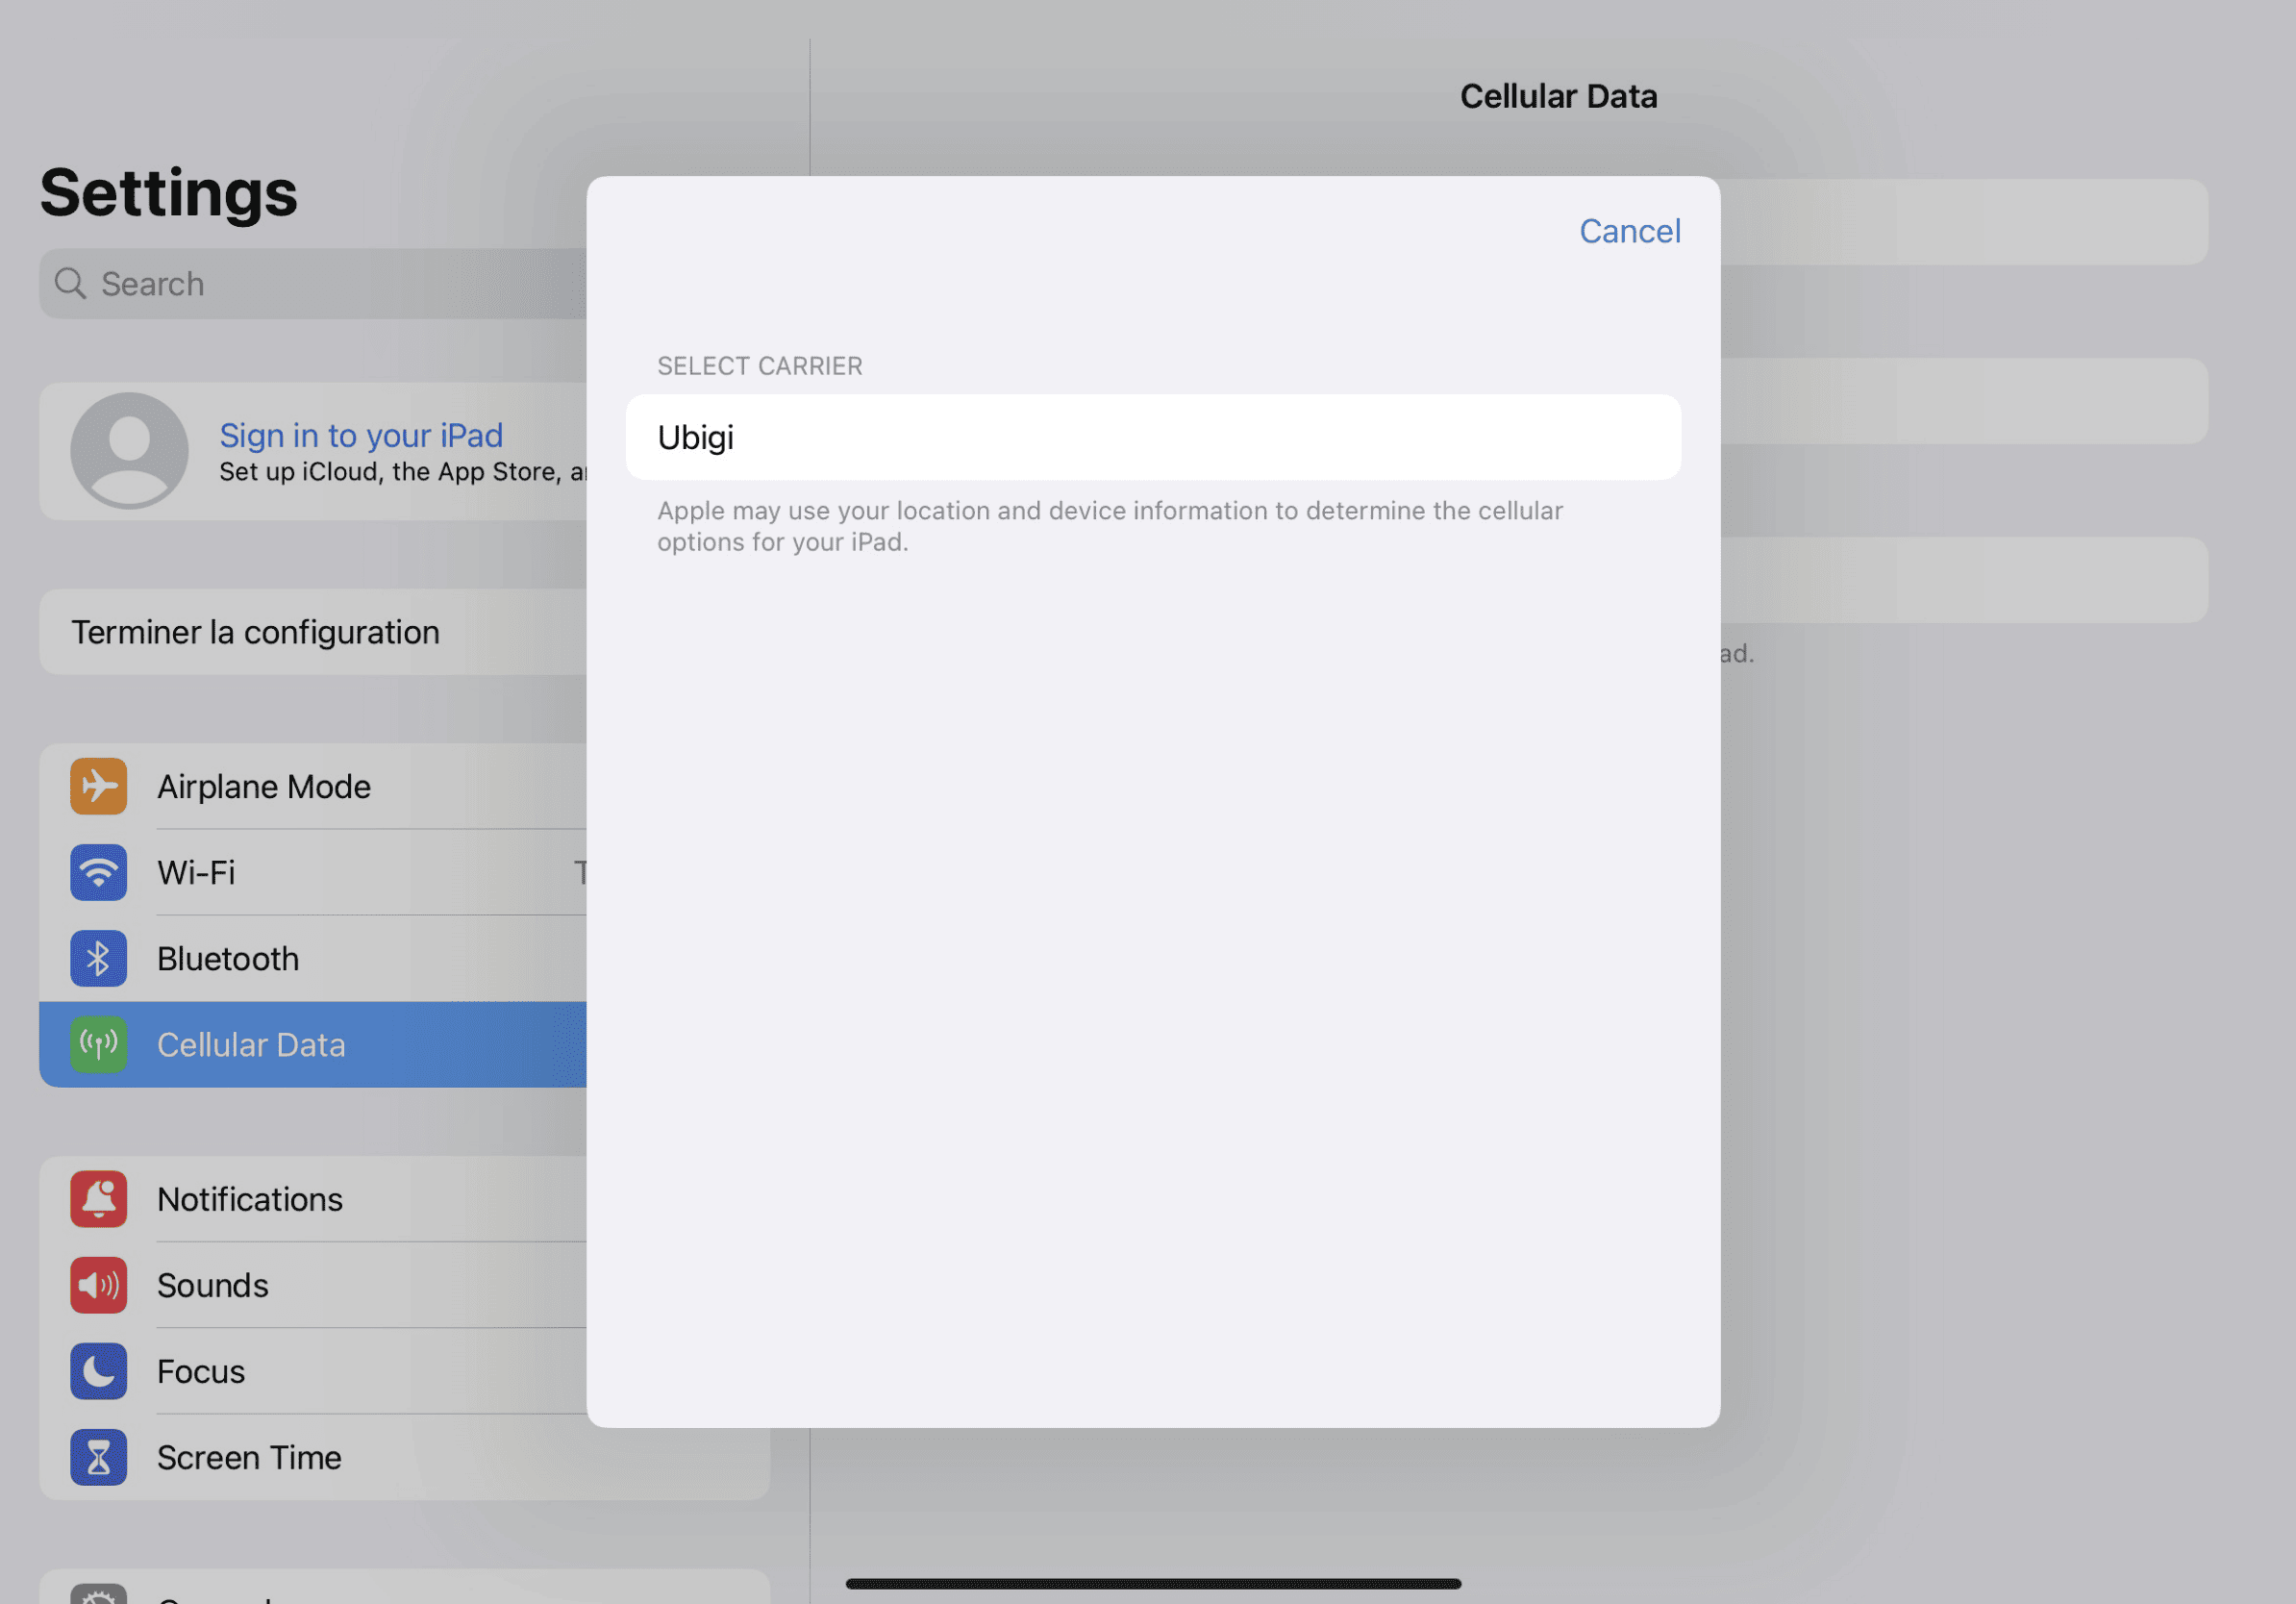

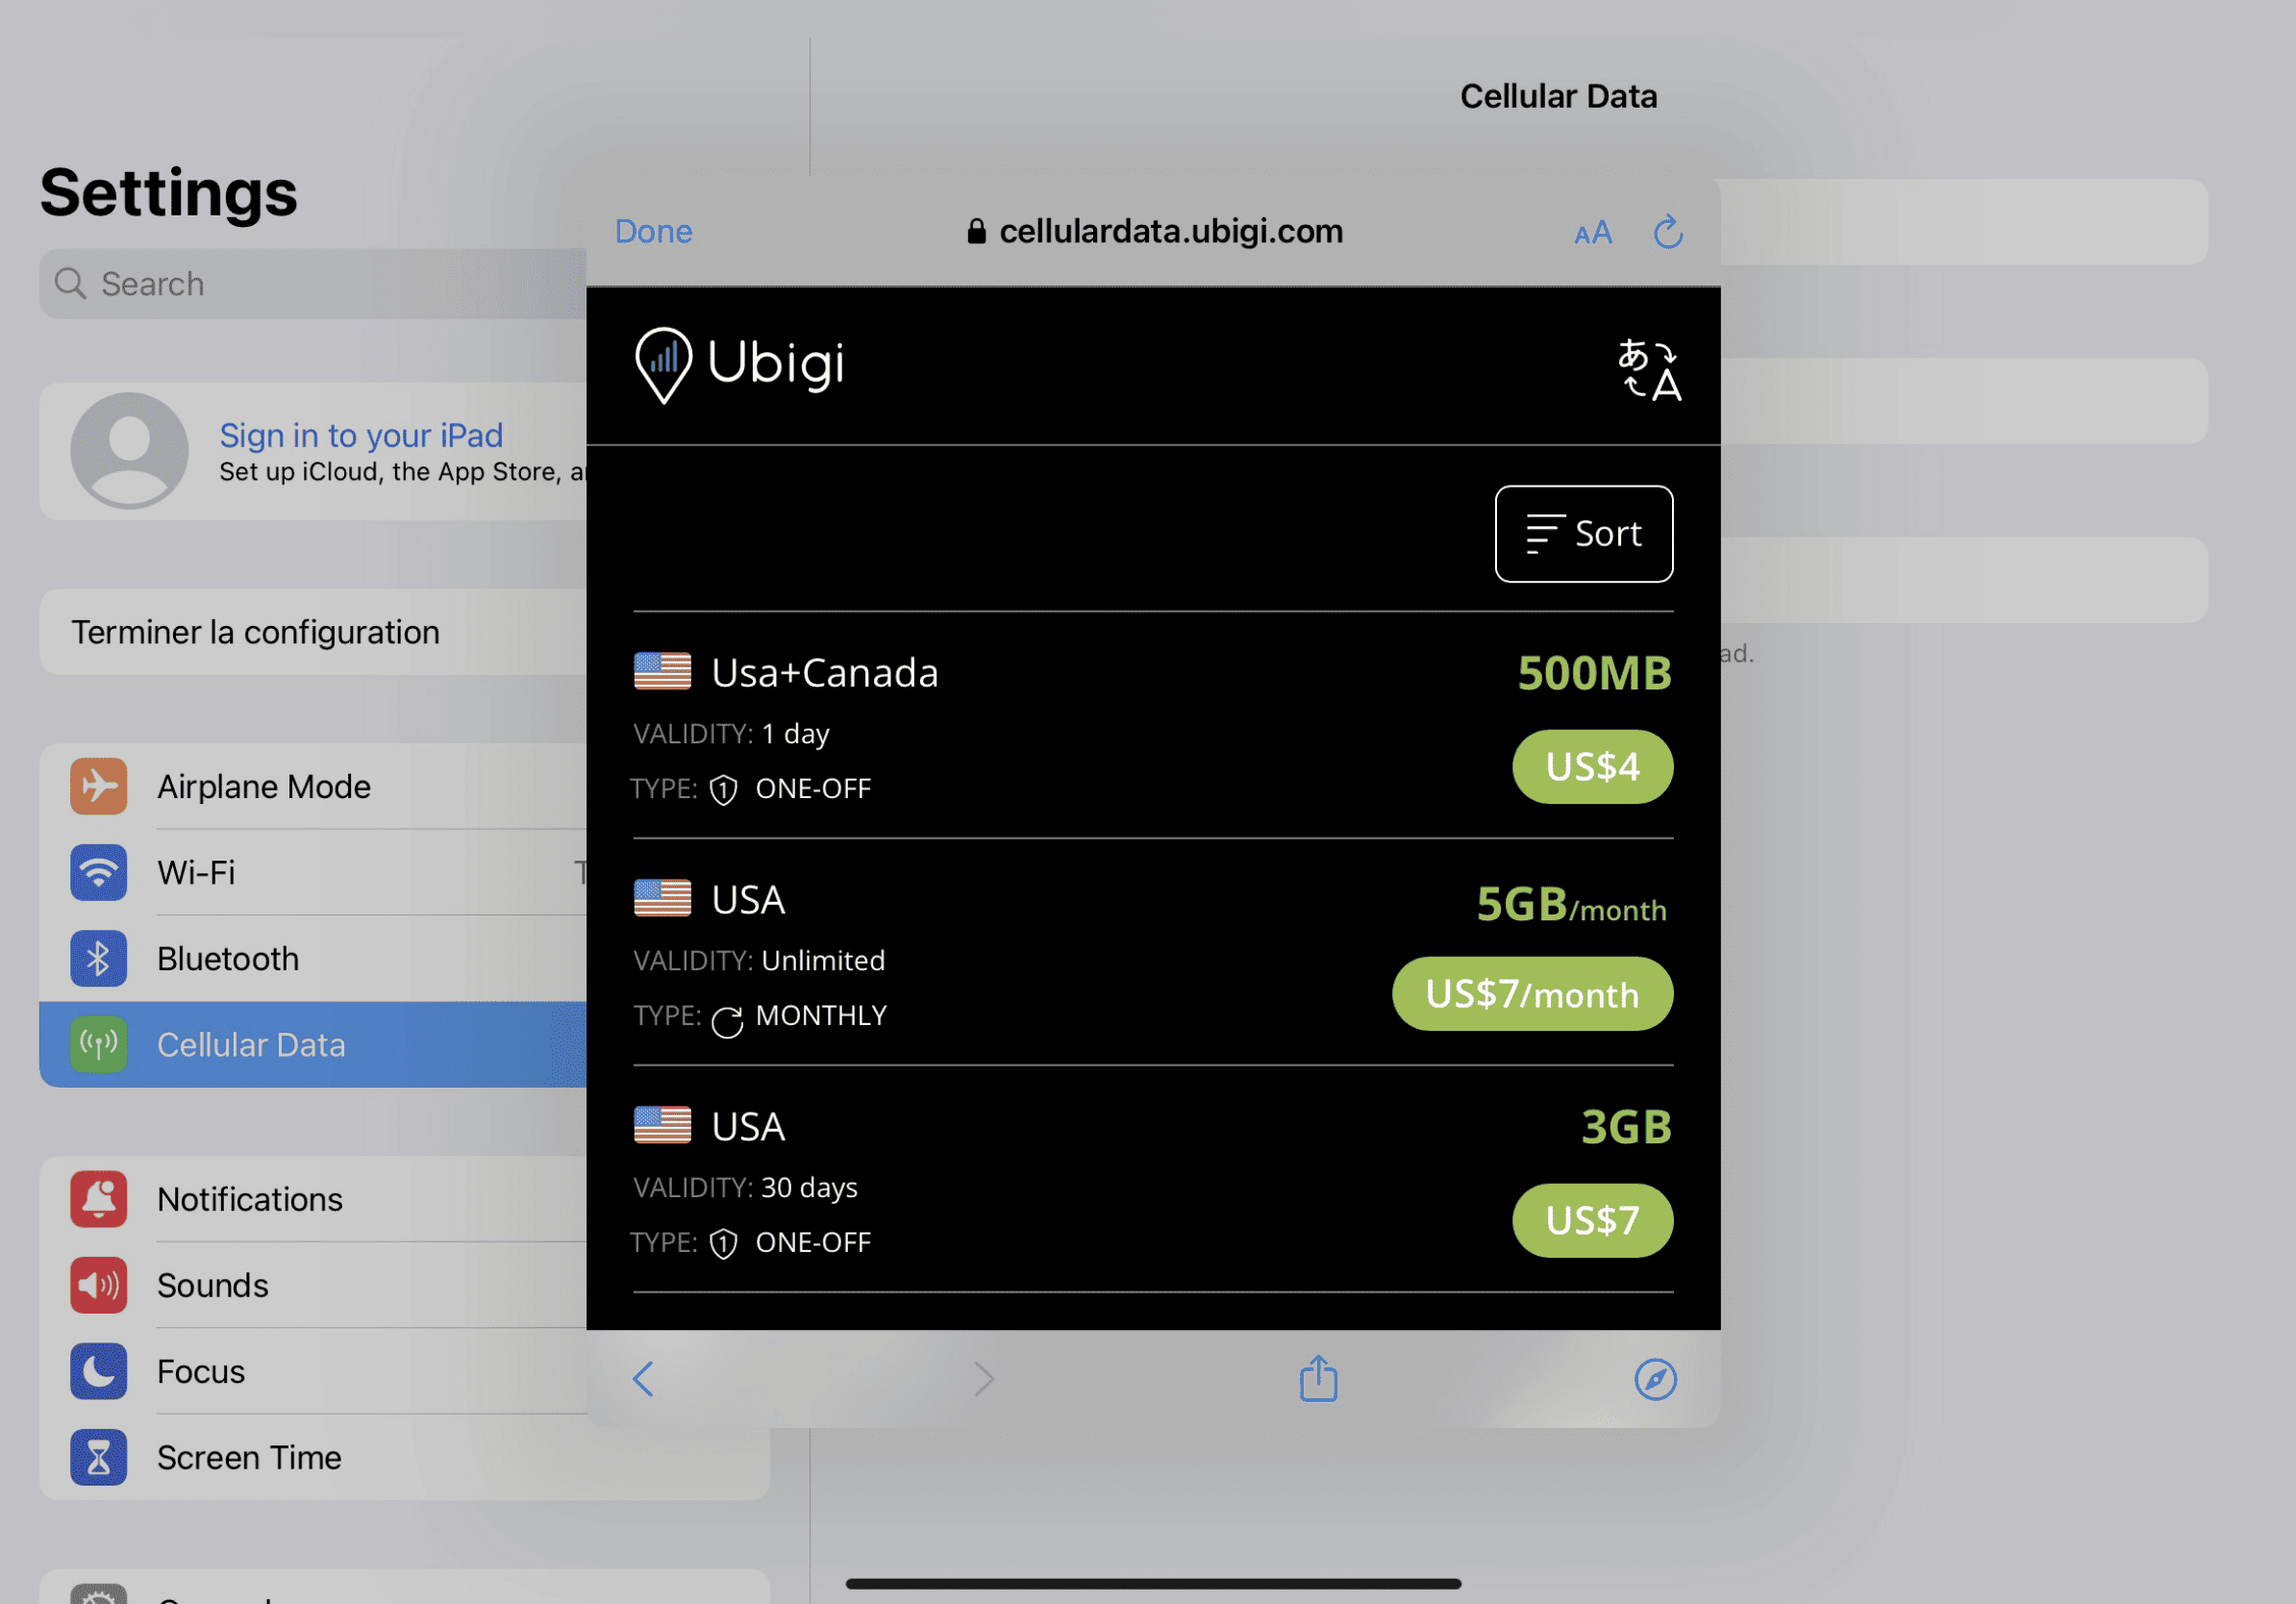
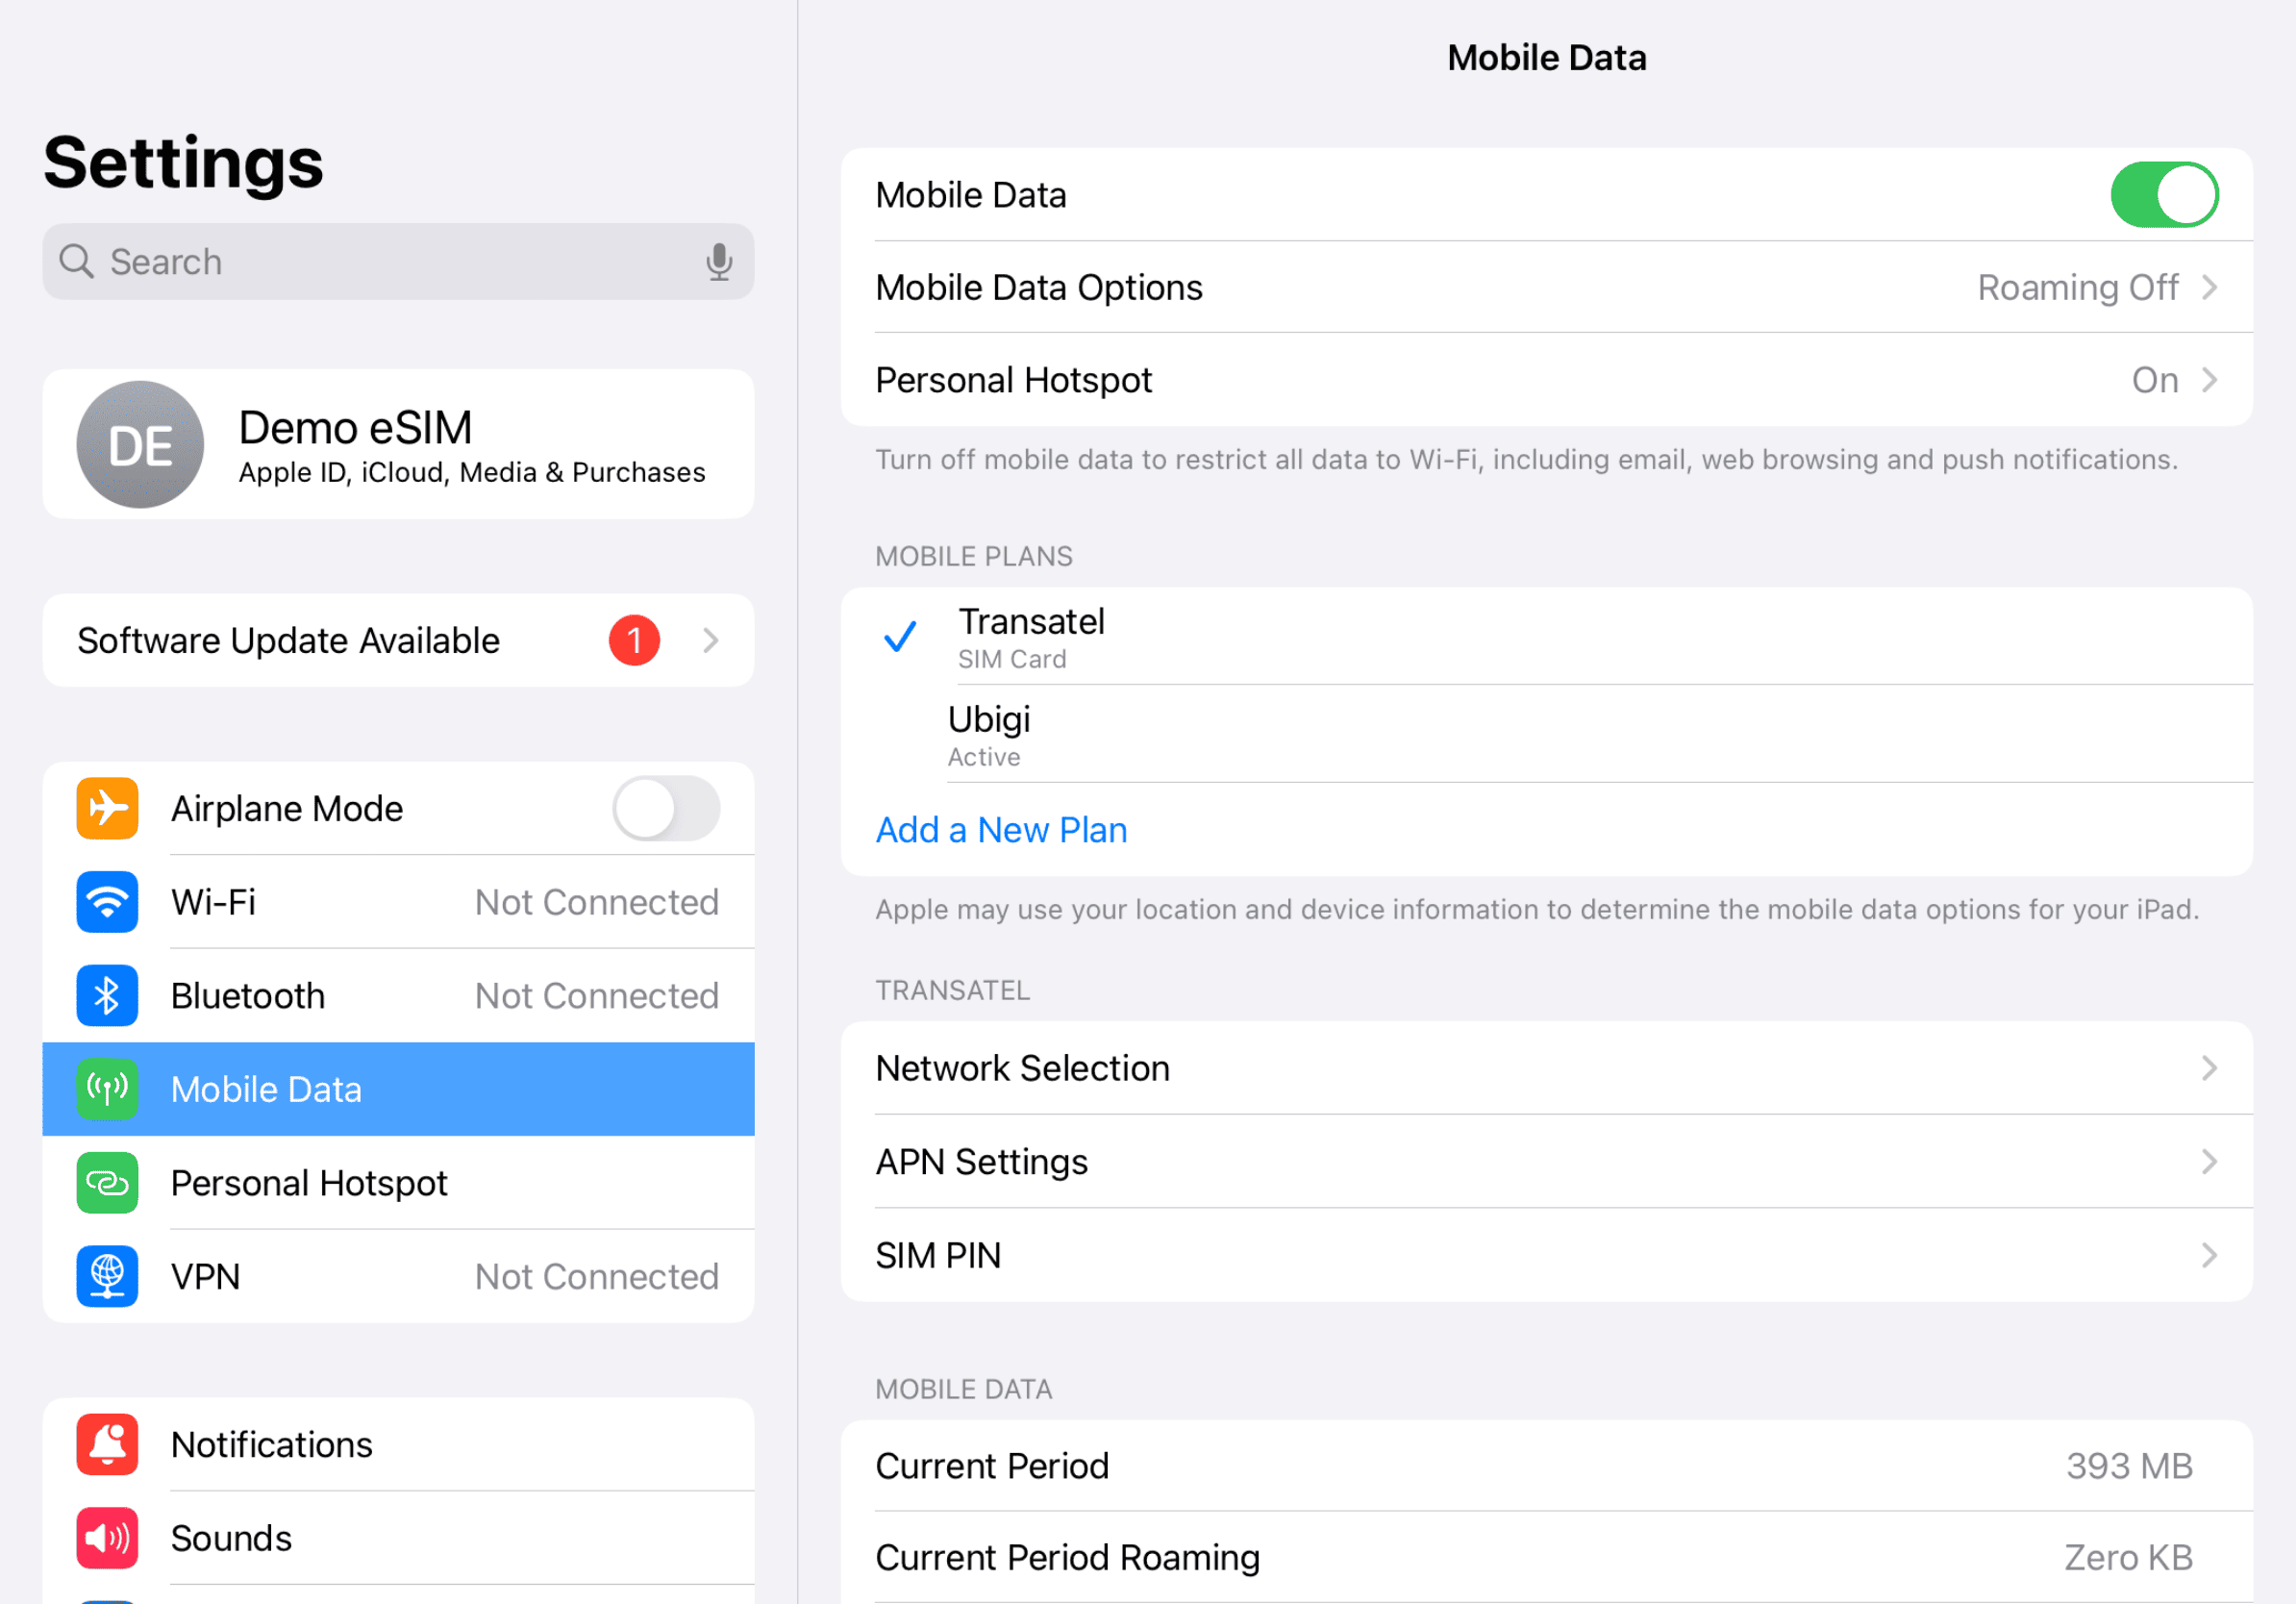
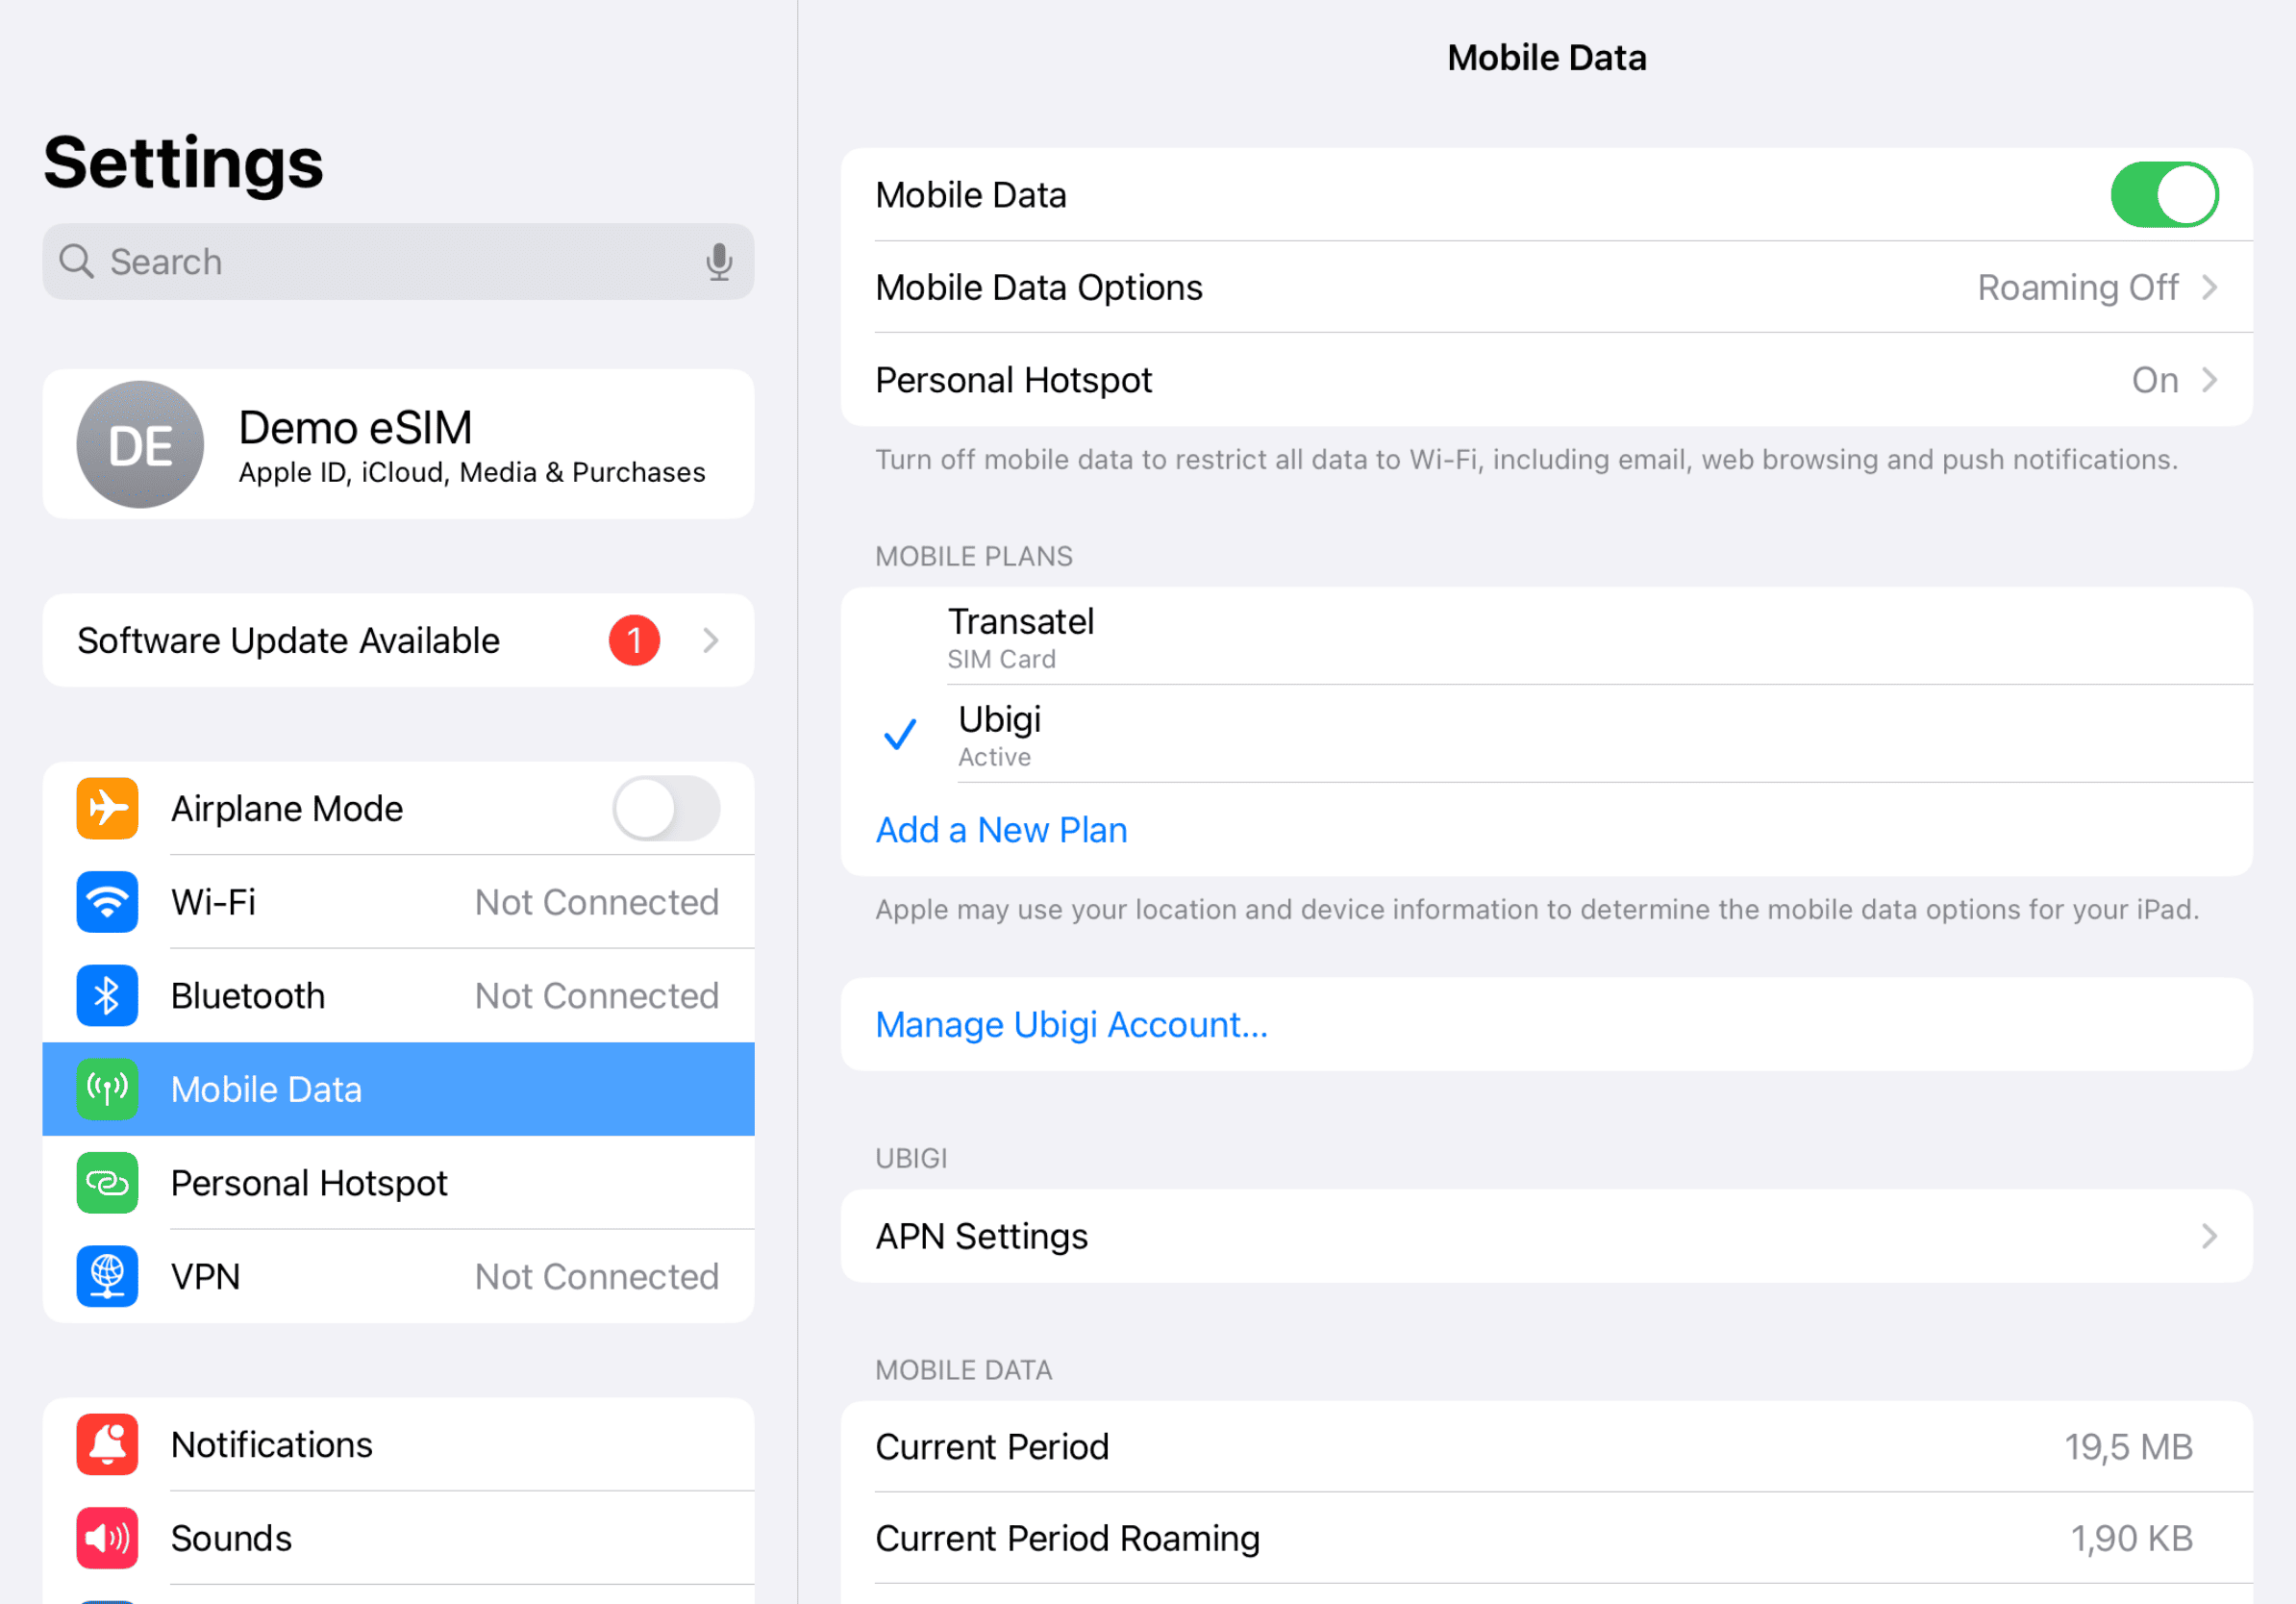
Go to your iPad Settings, tap on “Cellular Data”, then select “Find a New Plan” and choose Ubigi as your carrier
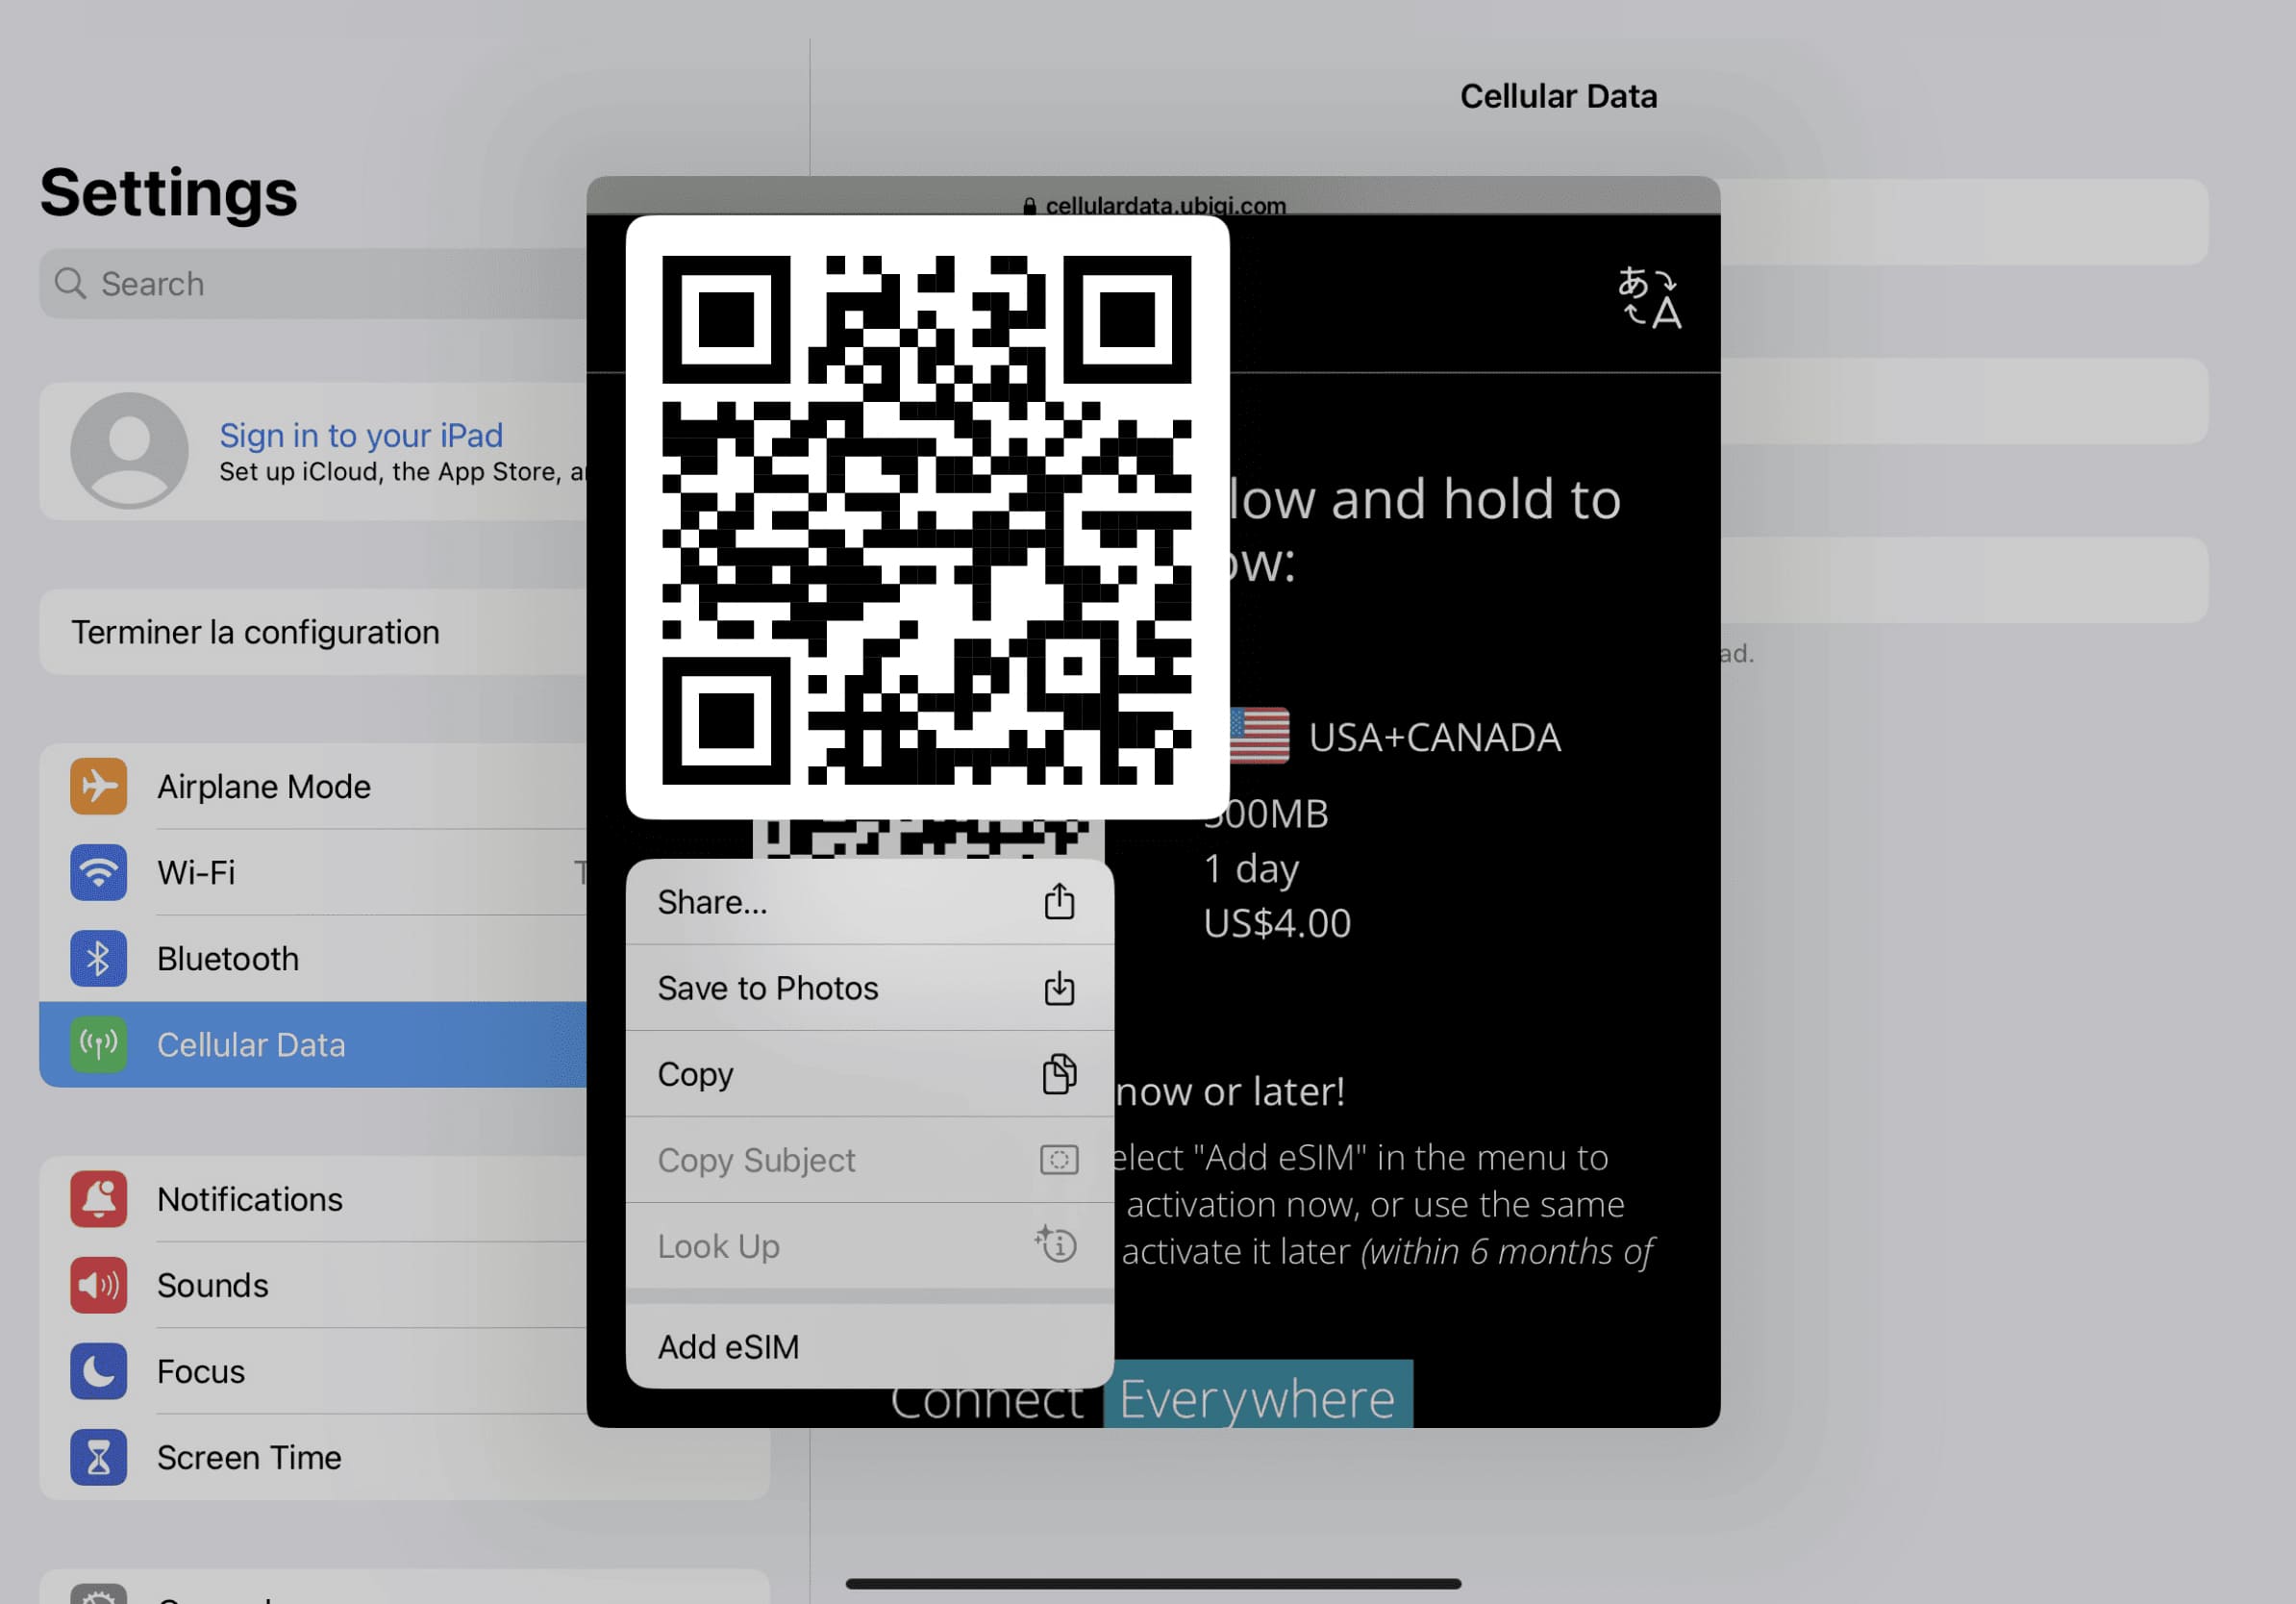

Press & hold the QR code on your screen and tap “Add eSIM”
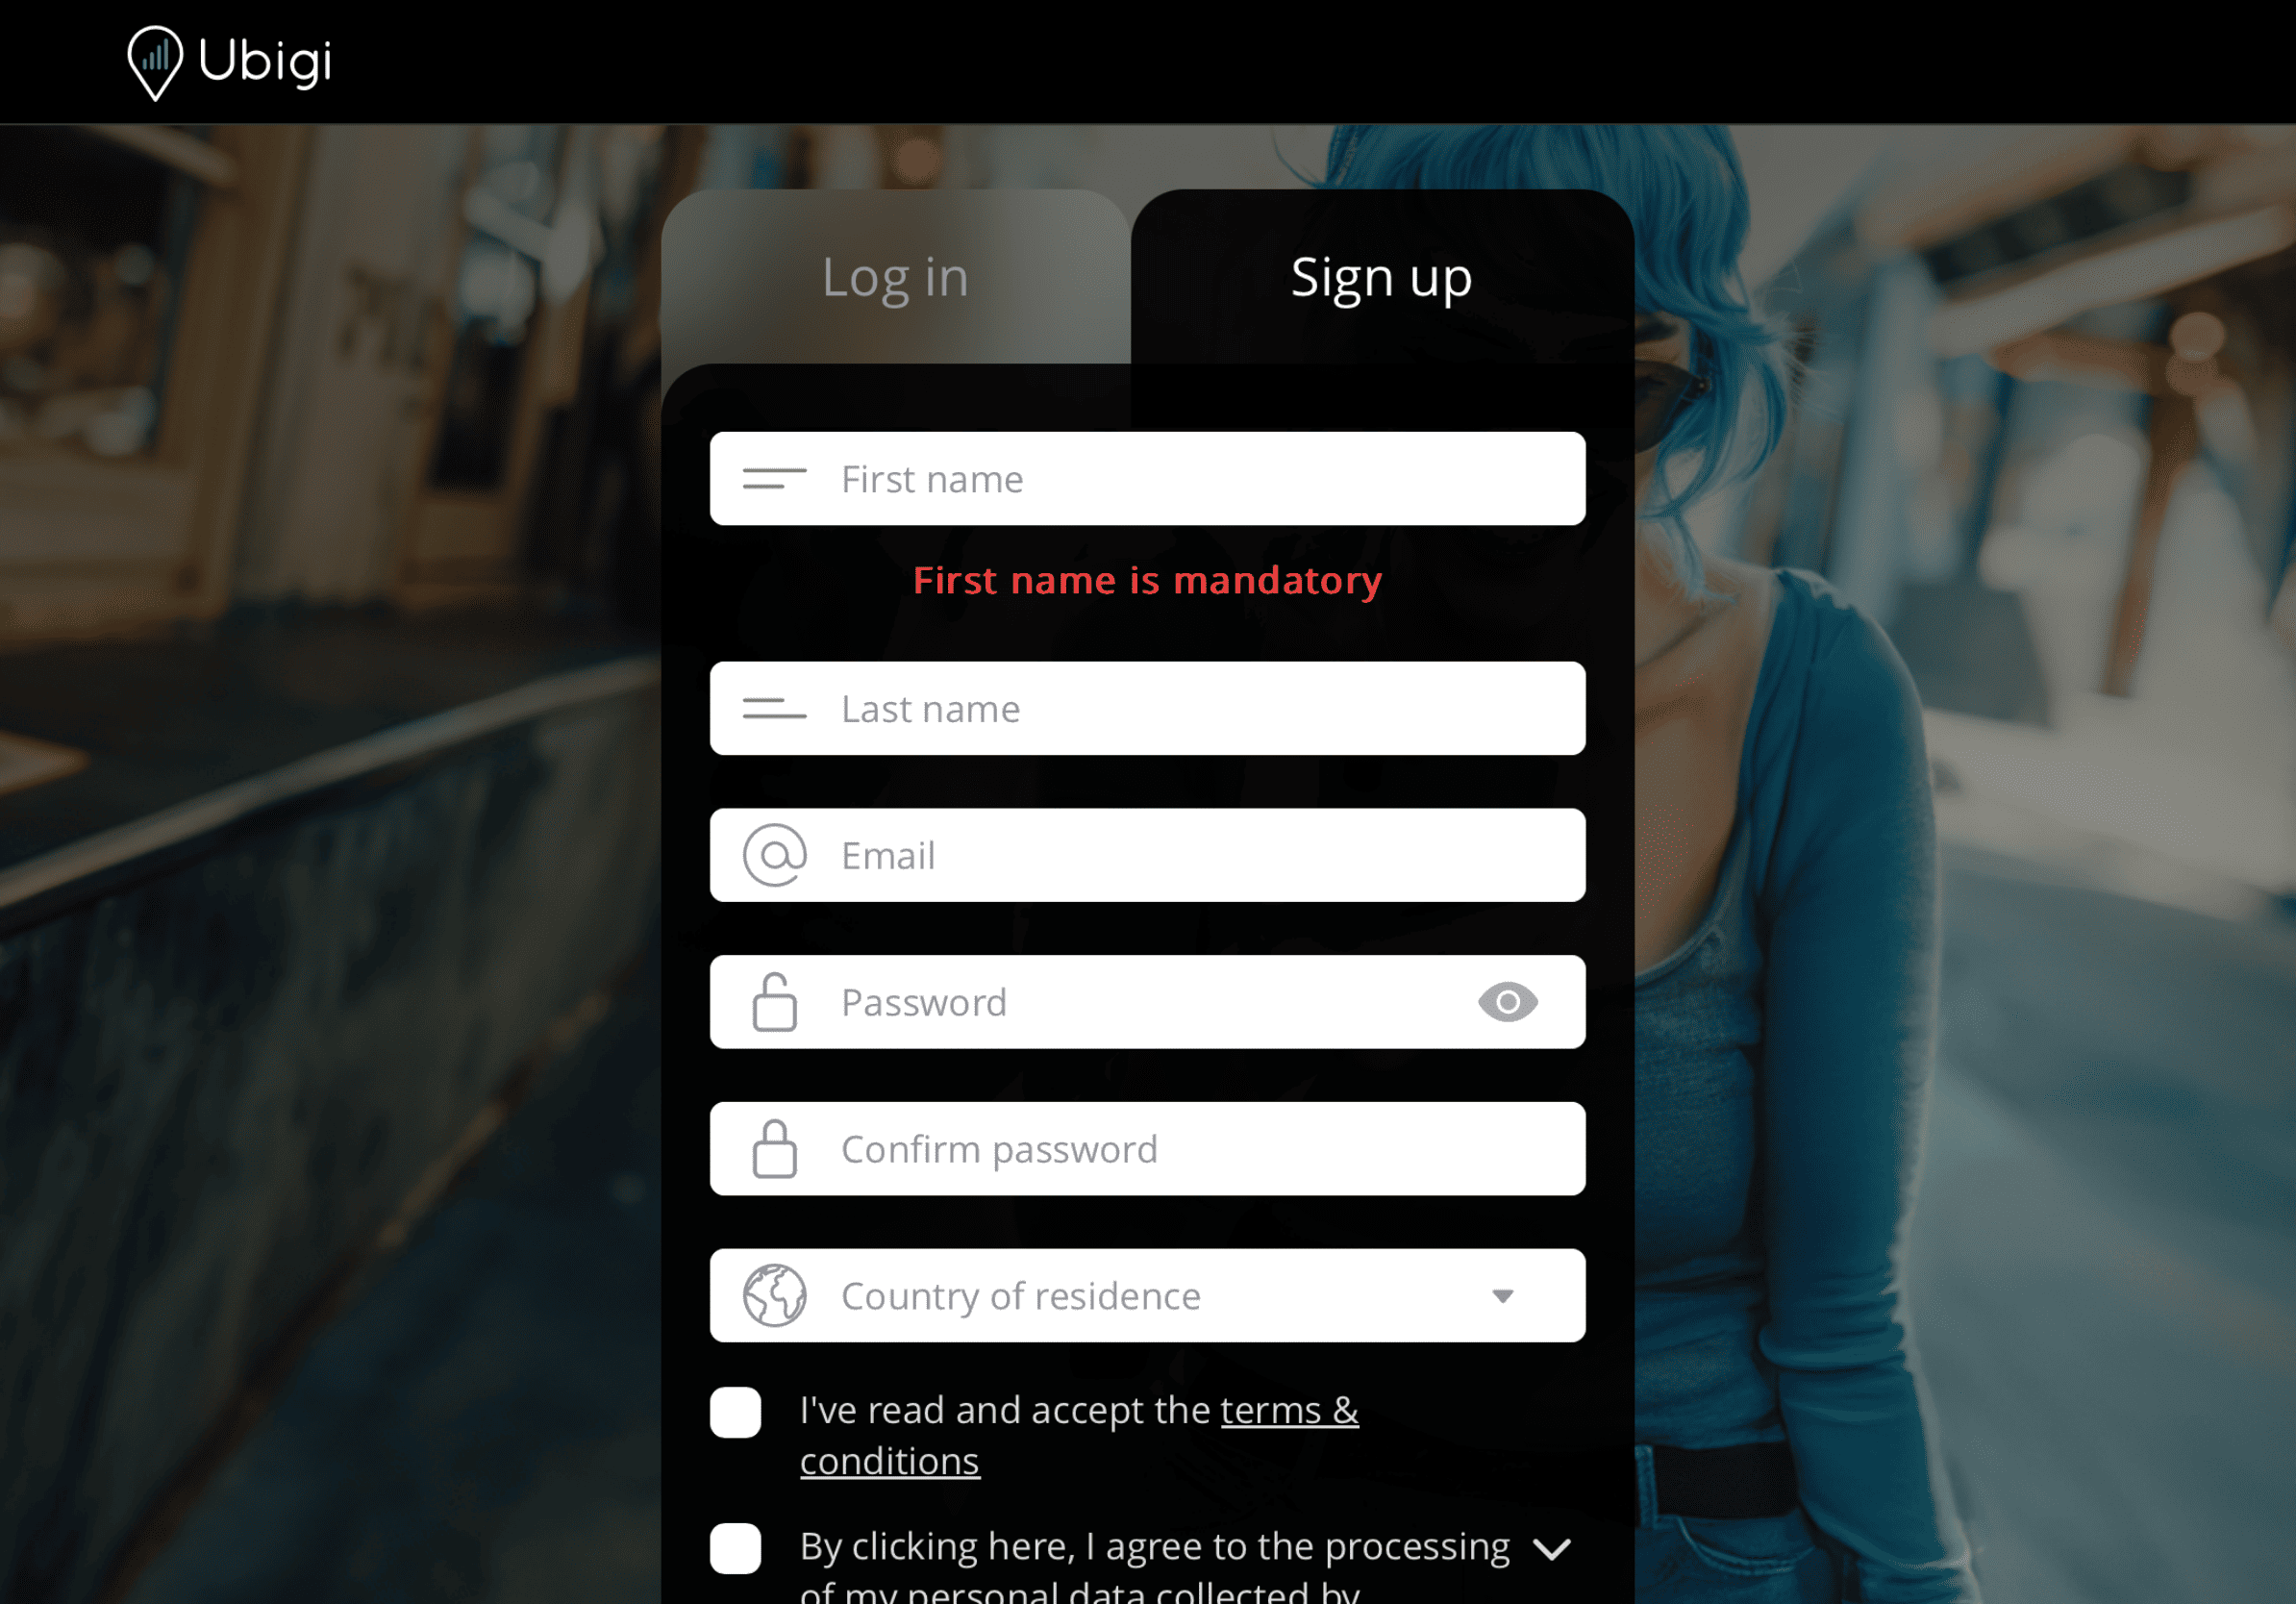

Sign up to Ubigi by downloading the app or visiting Ubigi.me to track your data in real time, receive alert notifications and top up easily
Make sure you have switched off Data Roaming of your home line before departure.
Your data consumption will start upon arrival at destination. Make sure you're using the Ubigi line for Cellular Data.
Turn off your Ubigi line and return to your initial settings.

Check out the tutorial:

 Verified
Verified
Verified
Verified
Verified
Verified
Verified
Verified
Verified
Verified
Verified
Verified
Verified
Verified
Verified
Verified
Verified
Verified
Verified
Verified
Verified
Verified
Verified
Verified
Verified
Verified
Verified
Verified
Verified  How to check eSIM compatibility
Smartphones / Tablets:
Dial *#06#.
→ If an EID number appears, your device is eSIM-compatible.
Windows 10 / 11:
Press Windows+I.
Go to “Network & Internet”
→ If you see "Cellular", your PC is eSIM-compatible.
 How to check carrier unlocking
iPhone / iPad:
Go to Settings > General > About.
Scroll to Carrier Lock.
→ If you see “No SIM restrictions”, your device is unlocked.
Android:
Go to Settings > Network & Internet > Mobile network.
Disable Automatic network selection.
→ If multiple networks appear, your device is unlocked.