

Get your free eSIM profile
Download the official app to get your eSIM profile. Get your free eSIM profile >
Install your eSIM profile
Download over the air the Ubigi eSIM profile on your device. How to install your eSIM profile >
Create your Ubigi Account
Setup your personal Ubigi eSIM account to be able to buy data plans. Create your account >
How to create your Ubigi account on your Microsoft Windows 10 laptop PC or tablet

Make sure that you have requested your Ubigi eSIM profile in step 1 and installed the eSIM in step 2
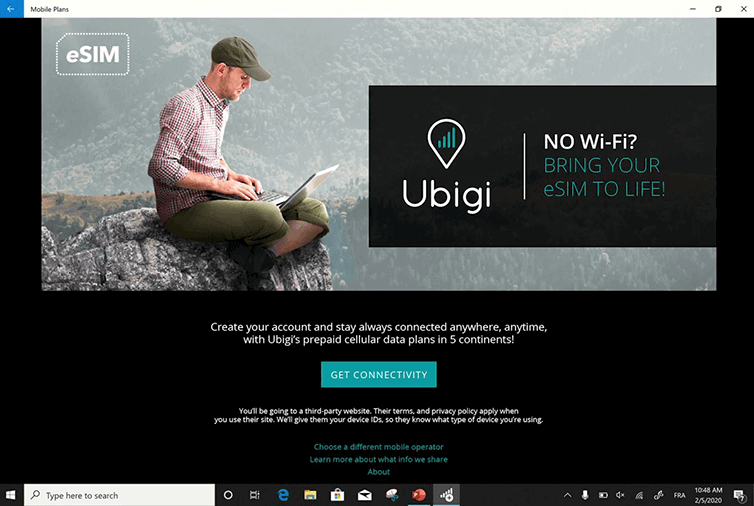
Then connect to the Ubigi eSIM to create your account and choose a data plan.
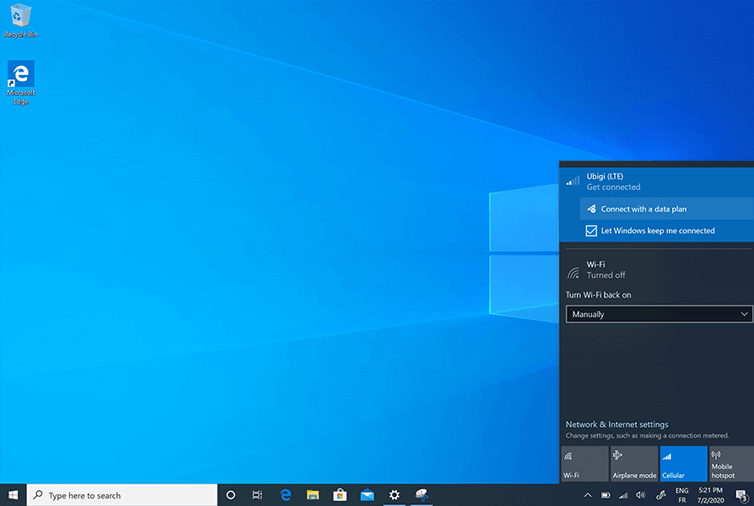

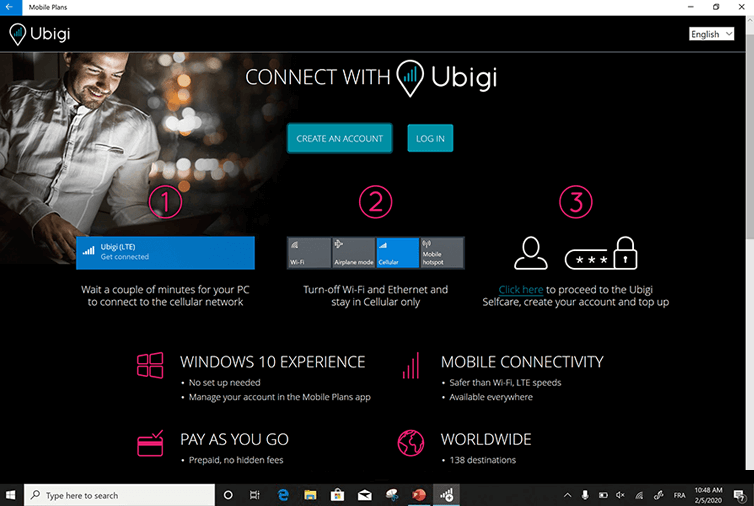
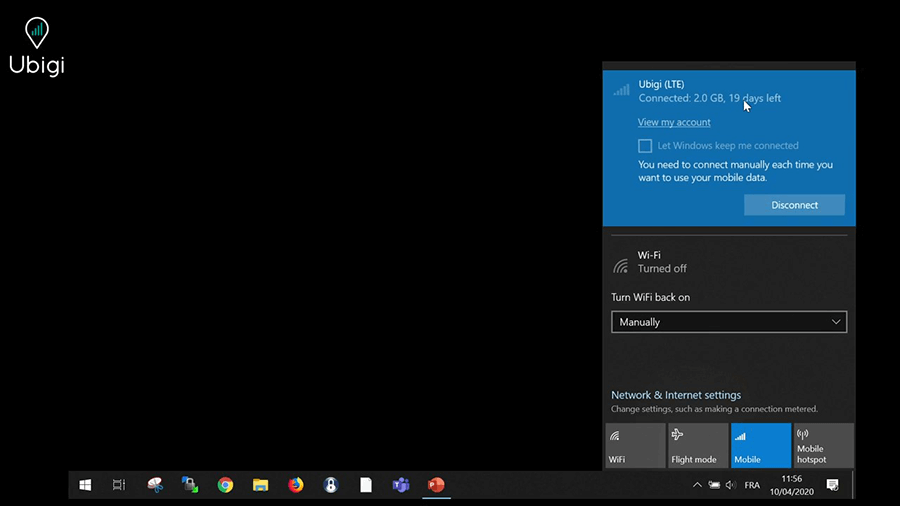
Click on the network icon in the bottom right-hand corner of the screen to open the network tab
Turn-off Wi-Fi and Ethernet modes and stay in Cellular only
Wait a couple of minutes for your PC to connect to the local cellular network, Ubigi network will appear at the top of the tab. Let Windows manage this connection and click on “Connect with a data plan” (or “View my account”)


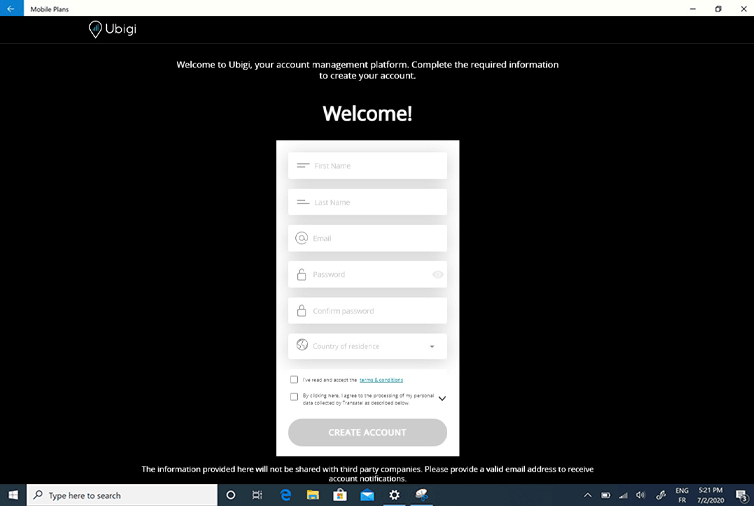

Fill the required fields and click “Create account”
To buy your first data plan, view here How to buy a Ubigi eSIM data plan.


 How to check eSIM compatibility
 How to check carrier unlocking