Time needed: 1 minute
You have received your Ubigi eSIM profile (QR Code) by email and now want to install it on your device, follow our step by step installation guide below.
Update your iOS version: On your iPhone, go to Settings > General > Software Update and update to iOS 13.3 or later.
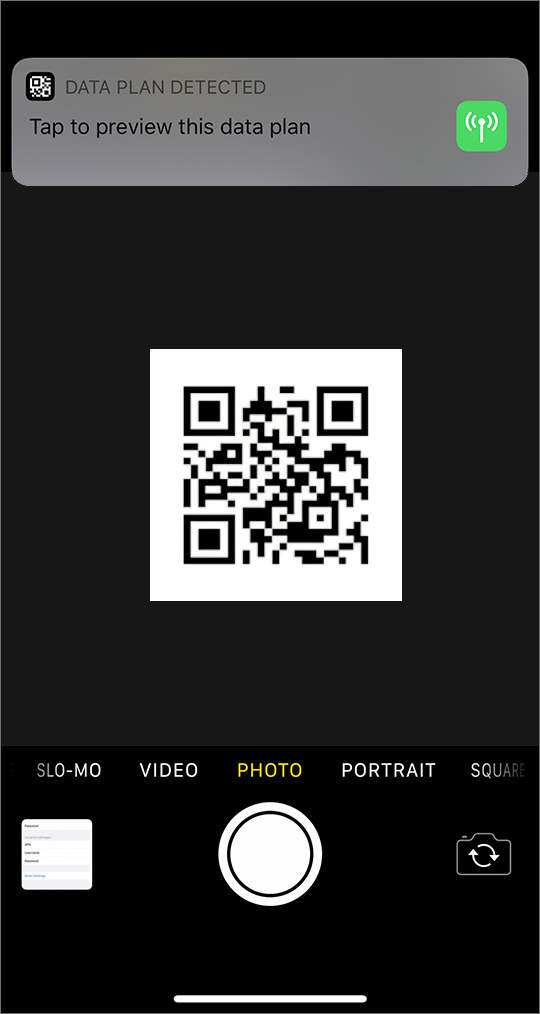
- Open your camera app and scan the QR code
Open your camera app and scan the QR code you previously received by email. A pop-up will appear at the top of the screen, click on it

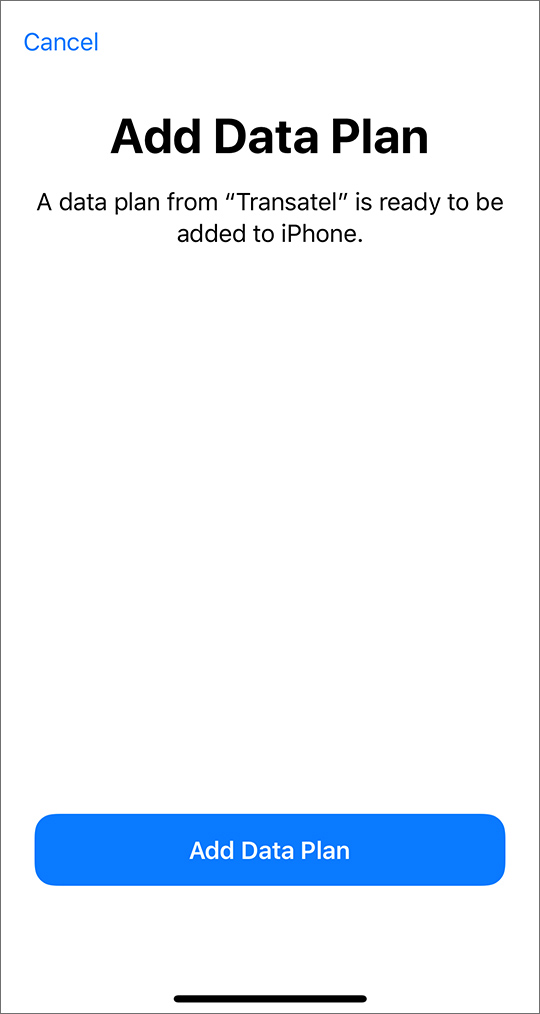
- Tap on “continue” and “add data plan”
Tap on “continue” and “add data plan” in the following screens
Good to know: Ubigi is a worldwide connectivity service of the Transatel company
- Rename the new plan
Rename the new plan as Ubigi to find it more easily

- Select a carrier for voice calls
Select your local carrier as default line (for voice)

- Select a carrier for FaceTime & iMessage,
Select your local carrier for FaceTime & iMessage,
You’ll be able to use your Ubigi data for iMessage, but as your Ubigi line does not have a phone number you can share, it is not necessary to associate it to your Apple ID
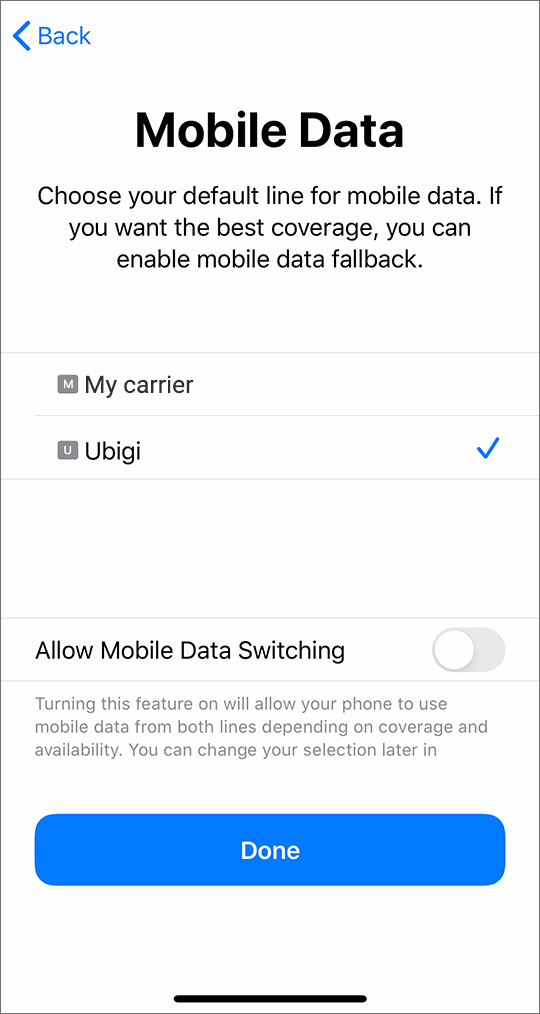
- Select Ubigi for Mobile Data
Select Ubigi for Mobile Data
Do not allow Mobile Data Switching – you would risk roaming on your local carrier

